

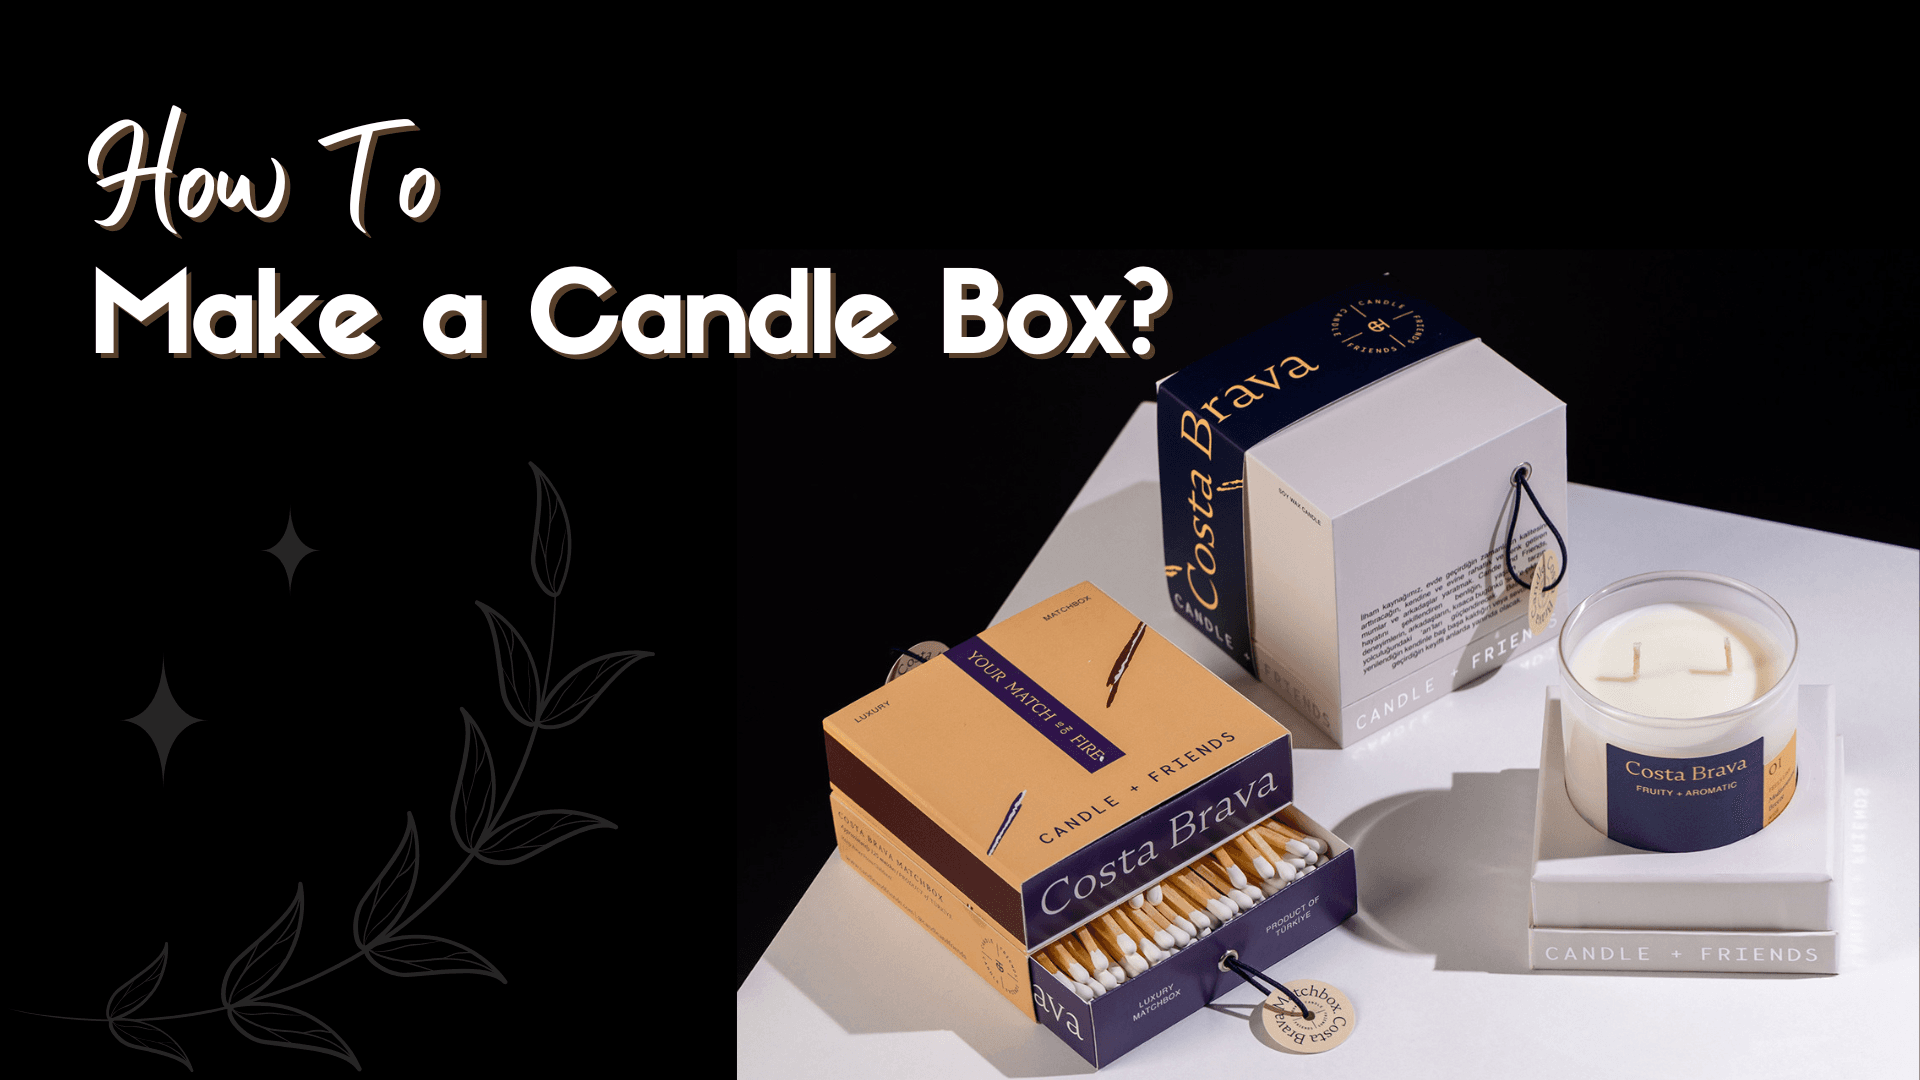

Candles are among the popular products whose quality and attraction depend on appropriate packaging. A nicely crafted candle box protects the candle from harm. The candle also attracts more customers when it appears.
Although creating a candlebox might appear difficult, but with the correct tools and materials, you can produce a visually pleasing and useful box. This blog goes into extensive detail about creating a candle box.
Understand the Purpose of a Candle Box
The first step in making a candlebox is understanding its purpose. A candle box protects the candle from damage, melting, or dust. It also helps showcase your brand’s identity.
The box needs to be strong for shipping and attractive for display. If the candle is scented, the box preserves the fragrance. Both the design and materials should focus on durability and appeal to customers.
Materials Needed to Make a Candle Box
To make a candle box, you need some basic materials. Start with cardboard or thick paperboard. The box’s basic framework will be this. Additionally, you’ll need scissors, glue, tape, and a ruler. These tools help you cut and assemble the box precisely.
Get some colored paper, ribbons, or stickers if you like to decorate. Custom candle box designs can also be produced by a printer. These materials will make your candle box look professional and unique.
Steps to Make a Candle Box
Making a candle box involves several steps. Follow them carefully to create a strong and attractive box. These simple steps are explained below:
Measure the Candle
Measuring the candle you want in the package comes first. The candle’s height, breadth, and depth may all be noted with a ruler. Your dimensions will affect the box’s size. So, you need to be careful to take exact ones.
You should add one or two extra centimeters to each dimension after measuring the box’s size. These additional millimeters give the candle some space to fit a little into the box.
An overly tight box might break the candle or make packing and unpacking difficult. On the other hand, if the box becomes overly large, the candle may move and develop scratches.
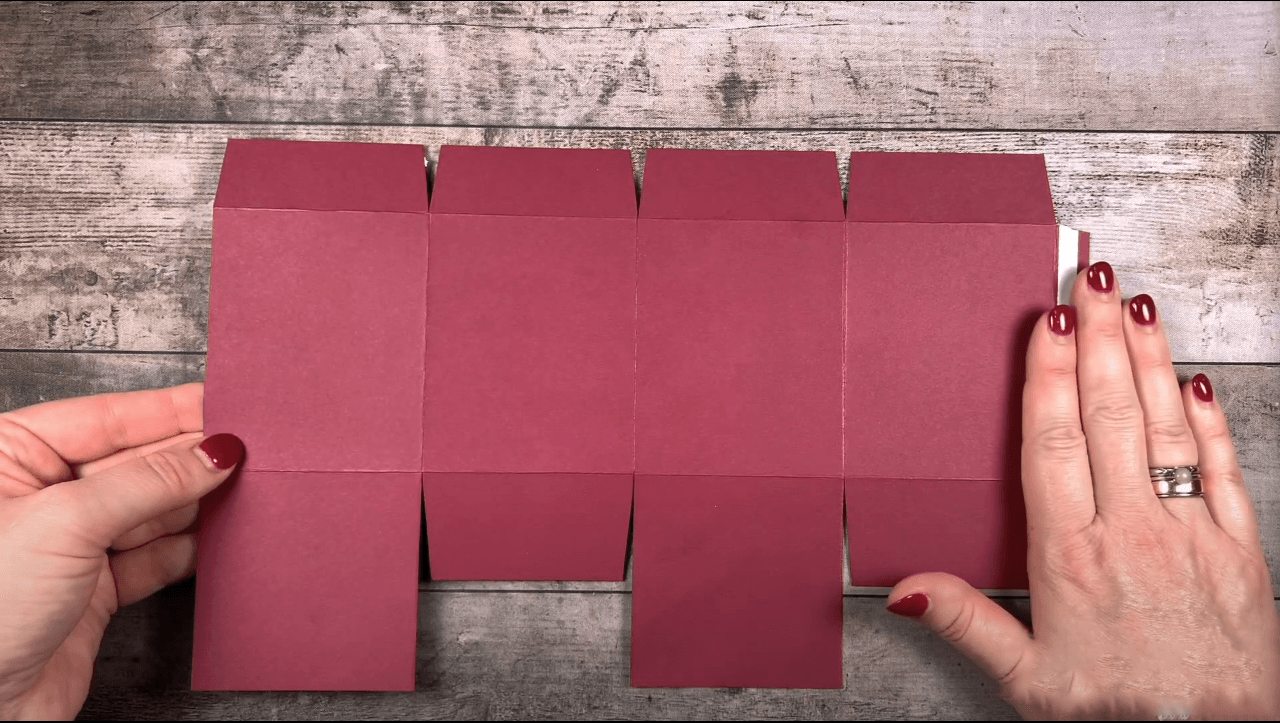
Create a Template
Once you have the measurements, create a template. You will cut and fold a template, which is a flat pattern, into the shape of the box. You should choose paperboard or thick cardboard. This step will make the box effective and long-lasting.
With a pencil and ruler, draw the template on the cardboard. Begin with the primary rectangular form for the box’s sides and base. Then, add flaps to the edges. These flaps will be folded and glued later to hold the box together.
Be precise when drawing your lines. Use the ruler to keep the edges straight and the corners sharp. A neat template makes it easier to fold and assemble the box later.
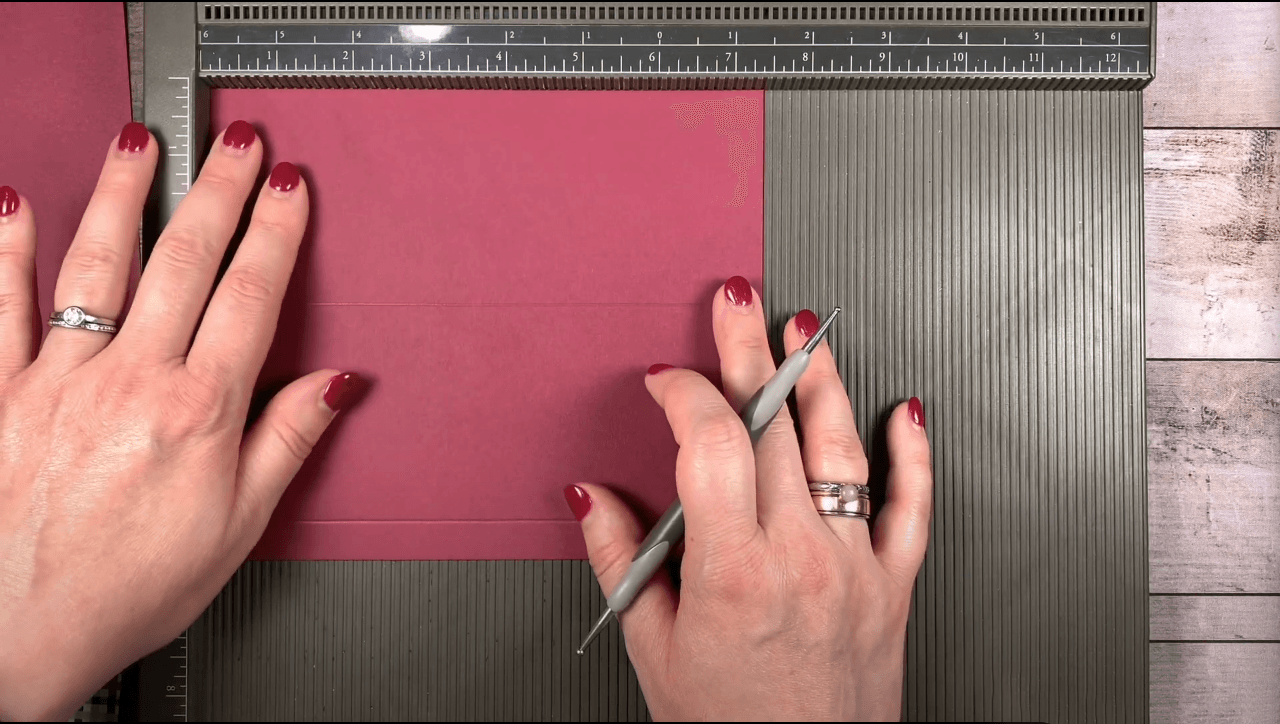
Cut and Fold the Template
Cutting and folding the box comes next once you have selected the design and material. Use a pencil and ruler to draw dimensional marks on the cardboard. Follow the pencil lines exactly by using either a craft knife or scissors for cutting. For neat edges, use a cutting board as a base.
After cutting, fold the box material along the marked lines to create the shape of the box. Use a bone folder or a similar tool to make clean folds. This step requires precision, as uneven folds can affect the overall appearance and durability of the box.
Glue the Box Together
Now it’s time to assemble the box. Apply glue to the flaps you’ve created in the template. Make use of strong glue that will keep the cardboard in place. Hold the flaps in place until the glue hardens by pressing them up against the box’s sides.
Double-sided tape can be used for extra support if you’re working with thicker cardboard or larger candles. By doing this, the box is guaranteed to remain unbroken.
Before proceeding to the following step, allow the glue to completely cure. Be patient because drying could take a few minutes.
Add Inserts
You can consider adding inserts if your candle is fragile or has an unusual form. Little cardboard bits called inserts. These inserts are put into the box to keep the candle in place. They stop the candle from moving about in storage or during travel.
To make inserts, use leftover cardboard from the template. Cut the cardboard into small pieces that match the dimensions of the box interior. Arrange them around the candle to secure it. Inserts are especially useful for fragile or luxury candles that need extra protection.
Test the Box for Durability
Before finalizing your candlebox, test its durability. Place the candle inside and shake the box gently to check if it stays in place. If the candle moves around, add more padding or adjust the box size.
Also, check the strength of the adhesive and ensure the box doesn’t open accidentally. Testing is important, especially if you plan to ship the candle. A sturdy box can prevent damage and ensure the candle reaches the customer in perfect condition.
Add Finishing Touches
Adding finishing details comes last in creating a candle box. To make the box more attractive, this includes ribbons, labels, or stickers that enhance it. If you sell candles, add a care instructions booklet or a thank-you letter to the package.
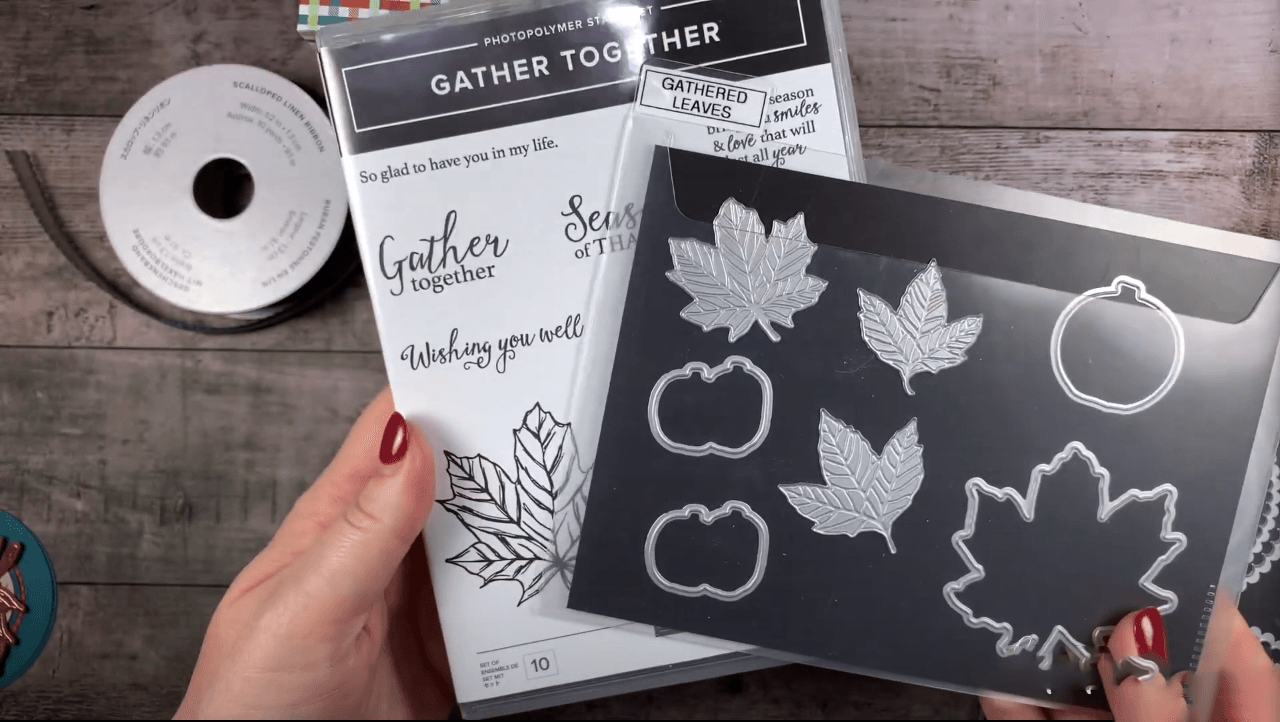
For premium candles, consider adding luxury elements such as foil stamping or embossing on the box. These details can elevate the packaging and make it stand out in the market.
Why Packaging Hippo is the Best Partner for Making Candle Boxes?
Packaging Hippo is a reliable choice for anyone looking to create high-quality candle boxes. They provide professional advice and tools to enable you to create and construct boxes that fit your requirements.
Their focus on creativity and eco-friendly methods guarantees that the used materials are strong, sustainable, and simple to handle. Packaging Hippo provides customizing choices.
They allow the creation of candle boxes with original colors, logos, and designs. Whether you’re a small business or an individual crafter, they provide affordable solutions and fast support. This makes the process of creating candle boxes both simple and professional.
Final Thoughts
Making a candlebox involves choosing the right materials, designing creatively, and ensuring durability. A well-crafted box protects the candle and enhances its appeal. This makes it perfect for customers or gifting.
Companies like Packaging Hippo provide first-rate ideas for designing unique and eco-friendly candle boxes. These guidelines will help you create a strong and attractive candle box reflecting your business or personal style.